The Circus Maximus Group, LLC

  • Home
  • News
  • FAQ
  • Media
  • Store
  • Contact Us

Pinball Inc and Circus Maximus purchase building

January 19, 2015 By Paul Kiefert 2 Comments

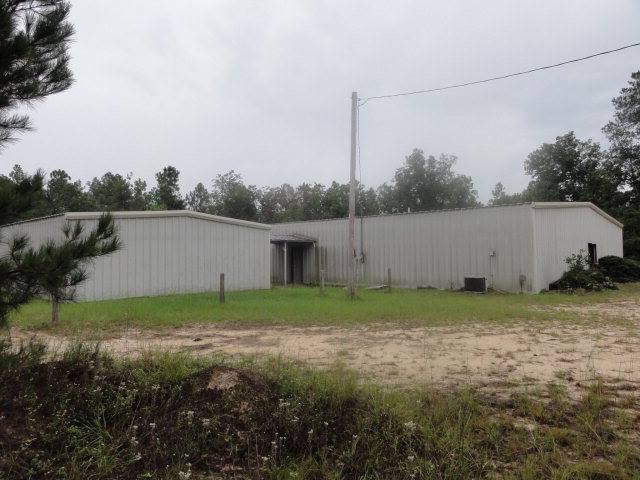
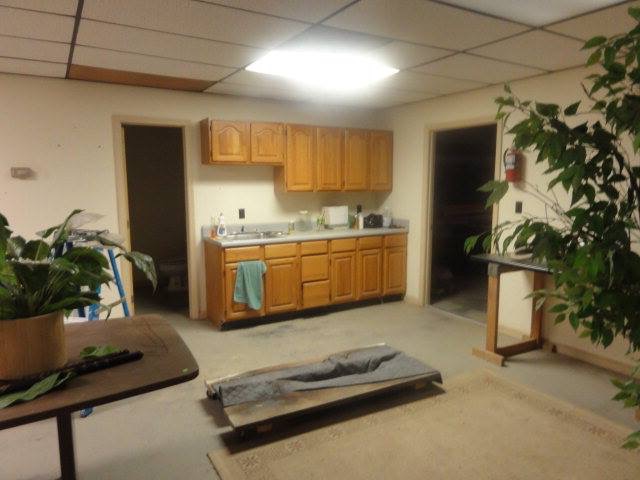
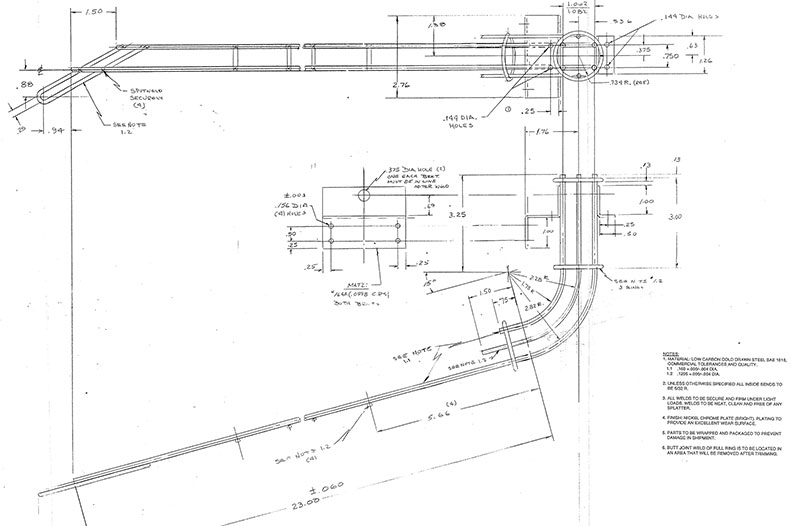
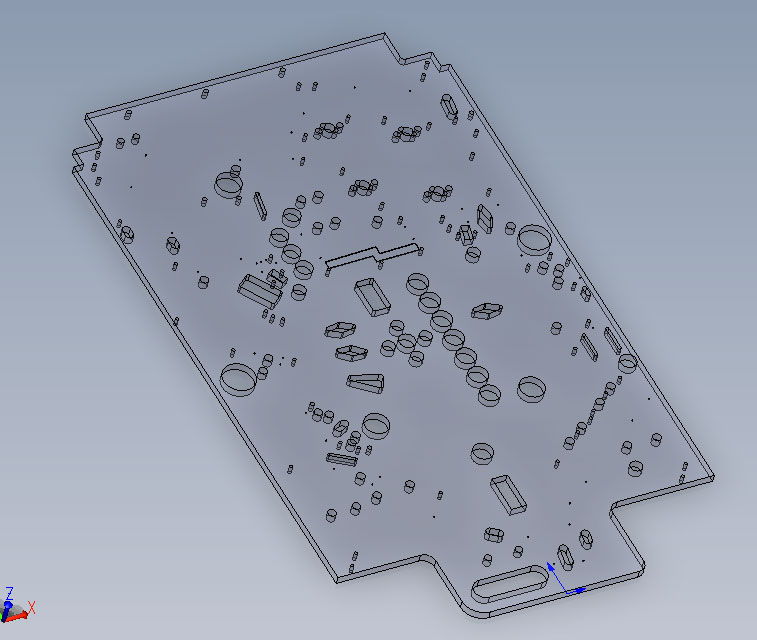
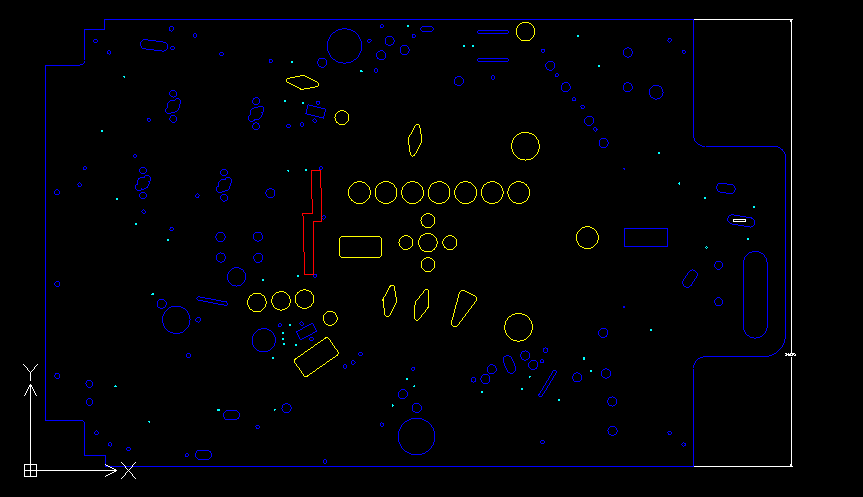
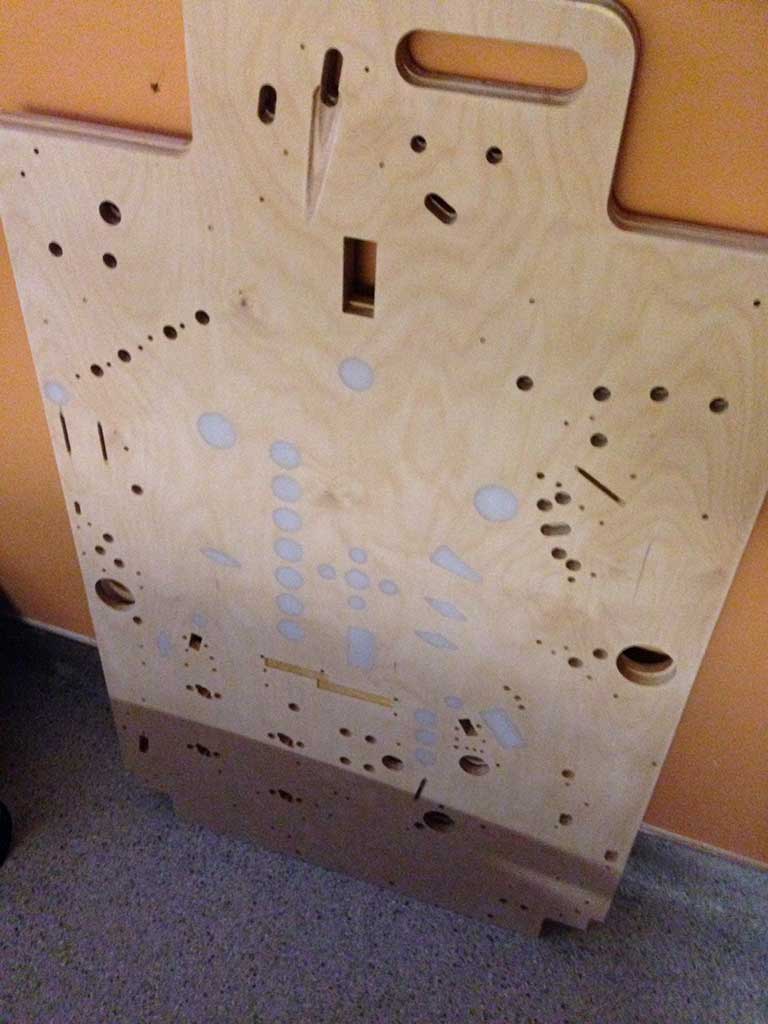
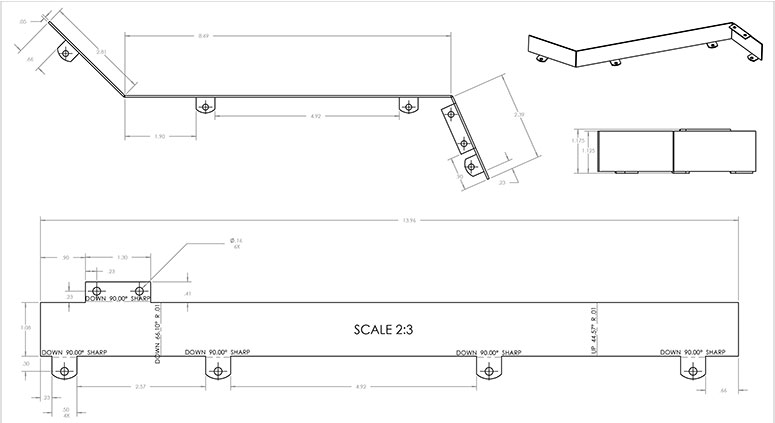
Pinball Inc and the Circus Maximus Group have purchased a 12,000+ sq/ft building with a 1200 sq/ft. paint booth (in it’s own dedicated building) for the first phase of the manufacturing of Python’s Pinball Circus. The added bonus is this used to be a cabinet/furniture manufacturing business and all the equipment is included! The building is on 7 acres so expanding will not be an issue.

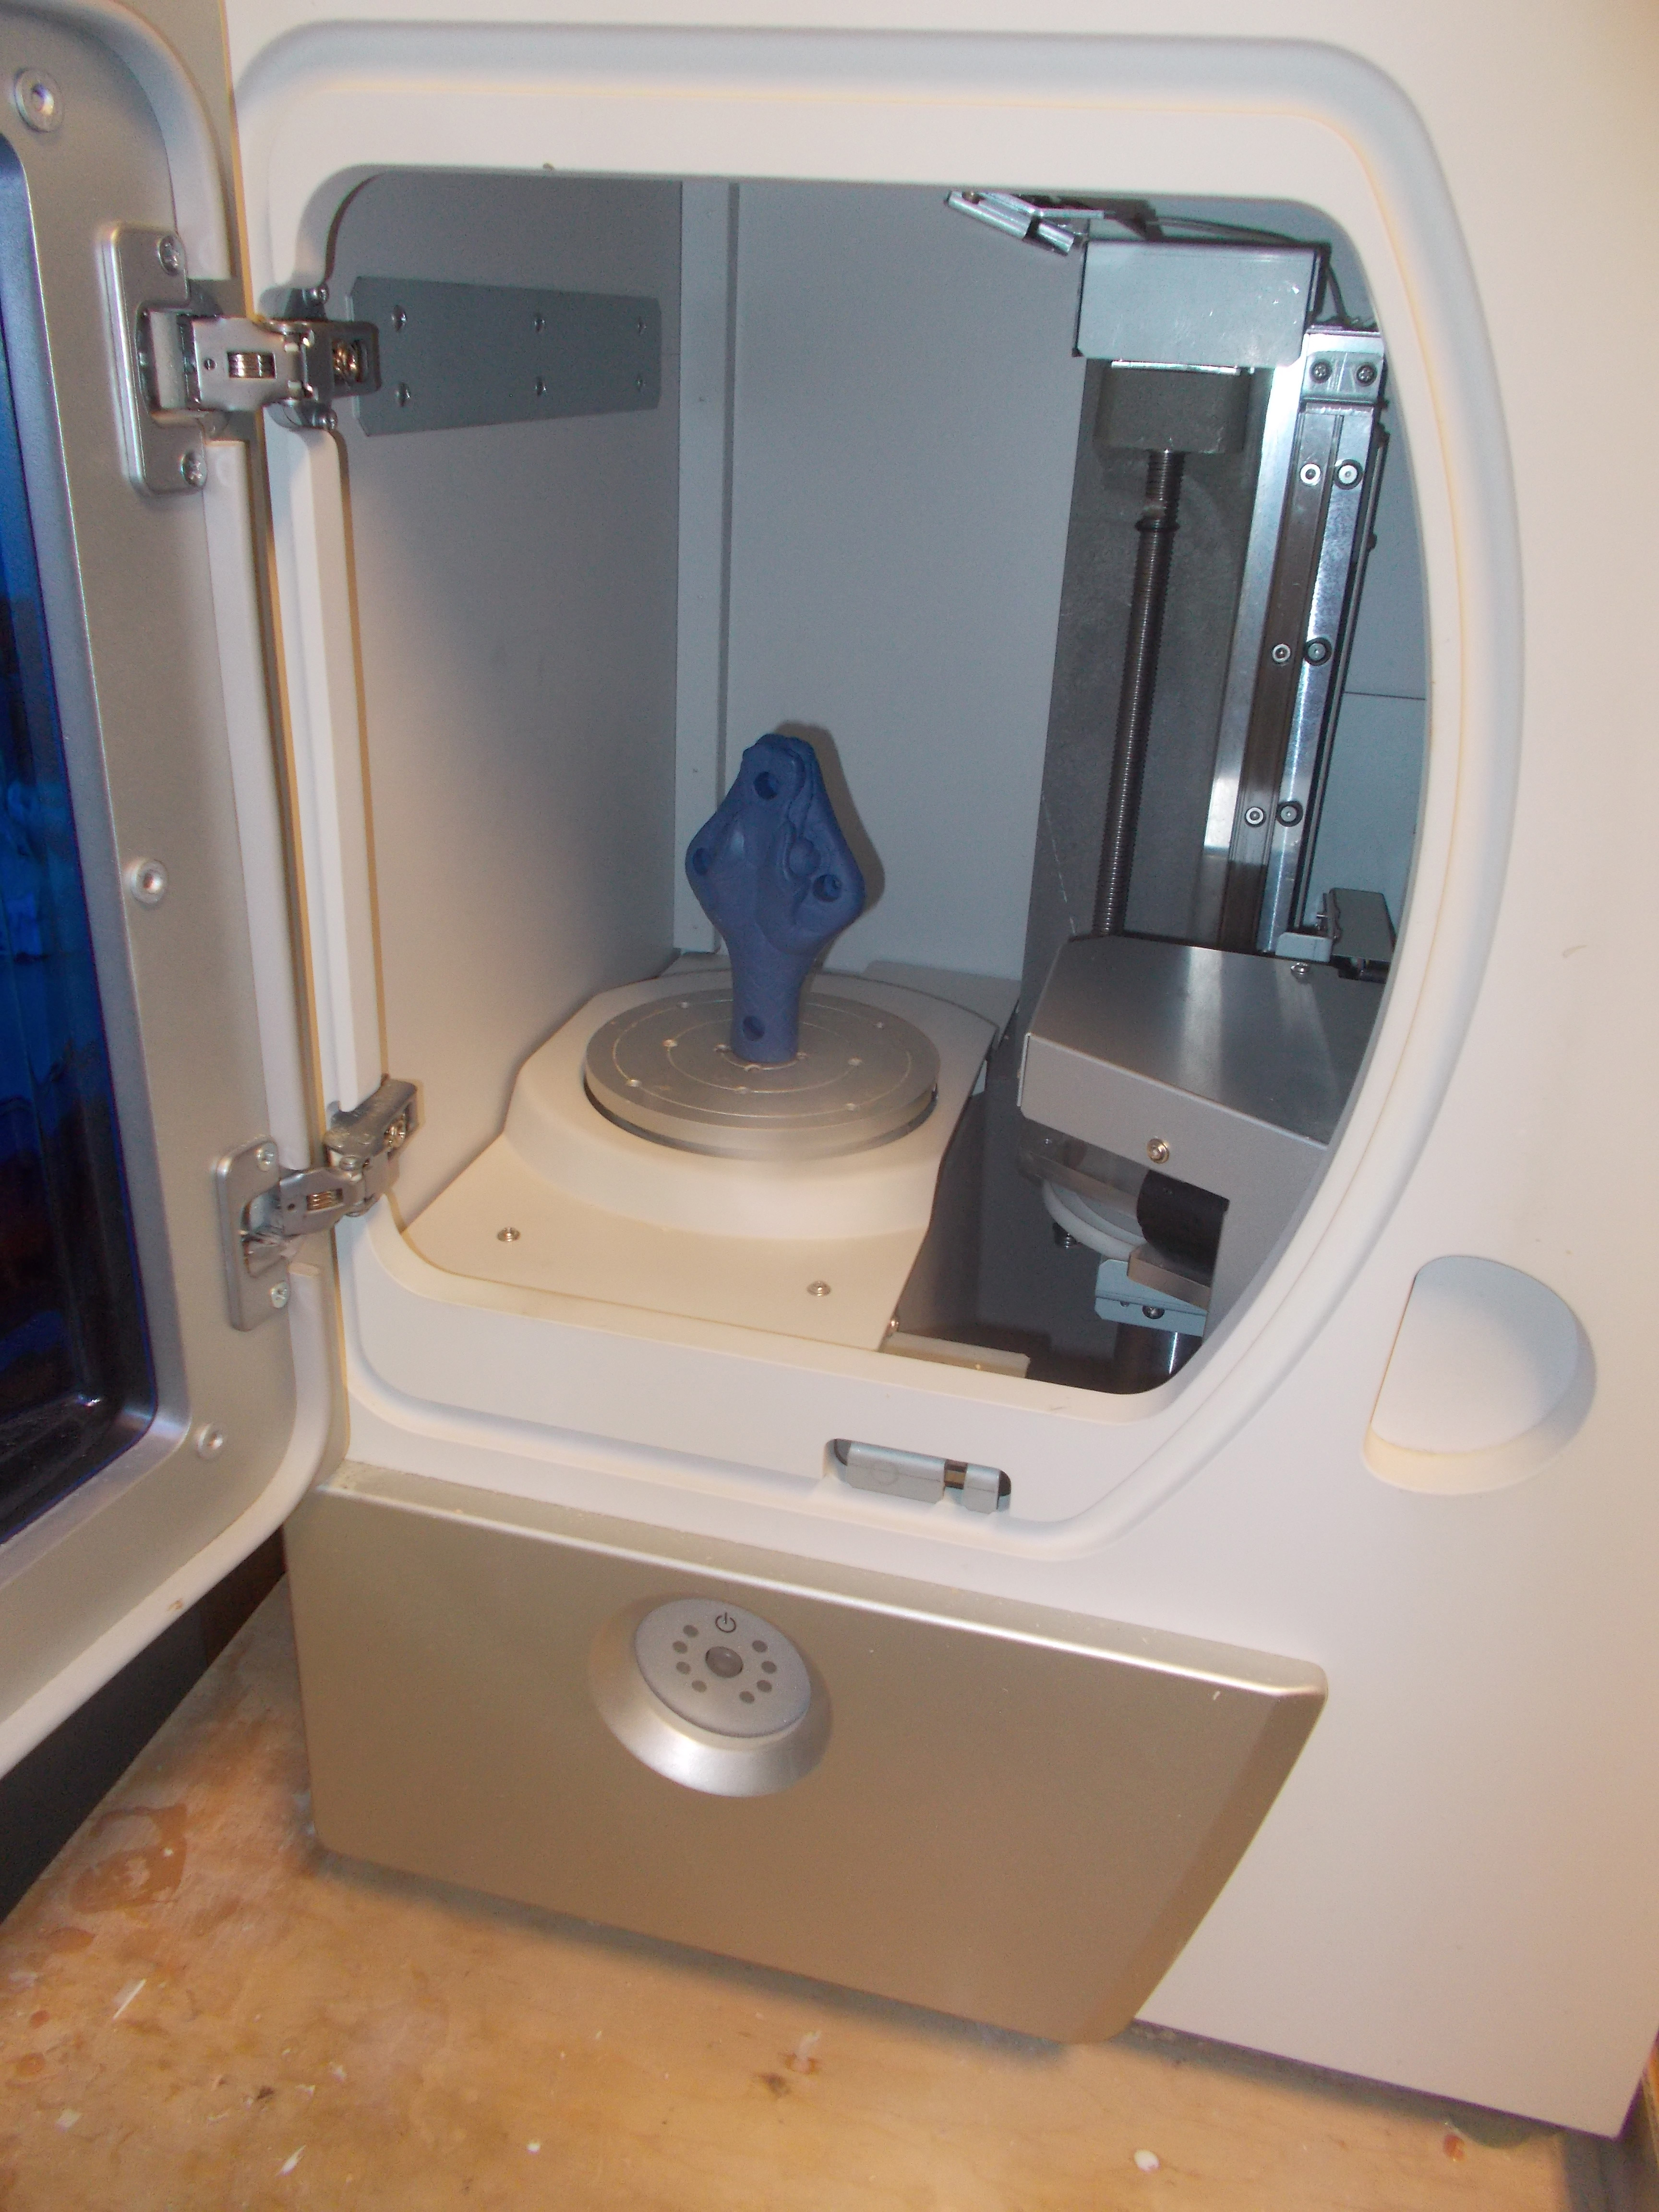
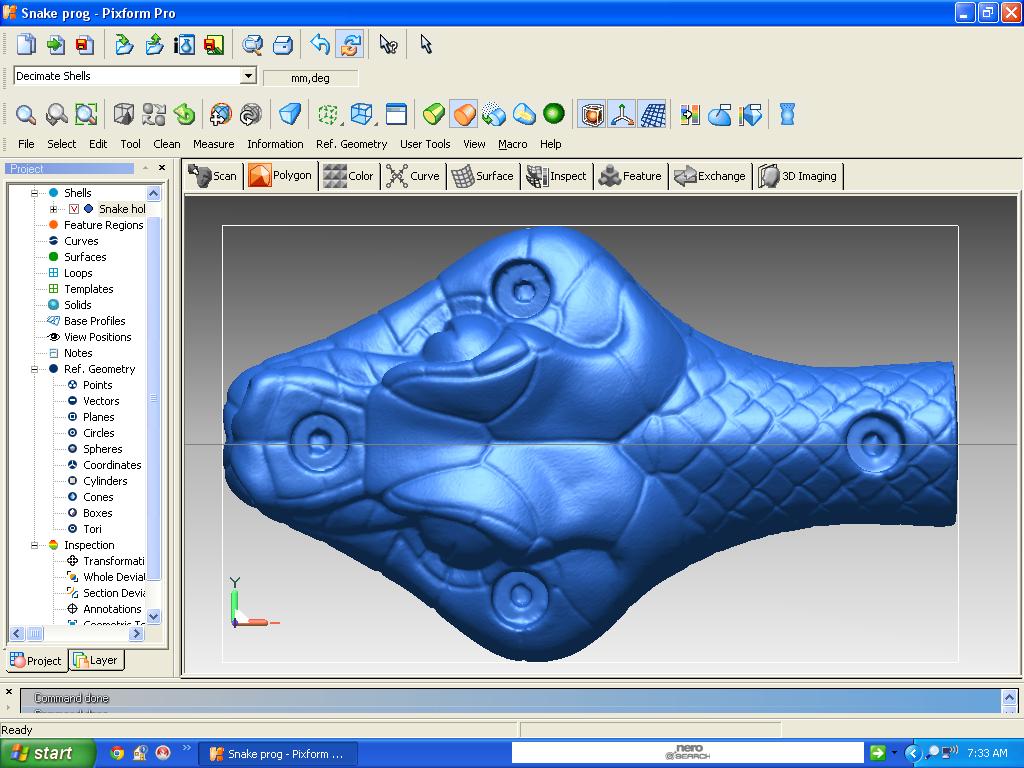
Maybe a shop tour video in the future?

IMG_0606 IMG_0607

IMG_0608 IMG_0609

Filed Under: Show and Tell

Behind the Circus: 3D Models

August 12, 2014 By Circus Maximus Leave a Comment

While we do have access to many of the original toys that are in Pinball Circus, it’d be foolish of us to put original toys into our prototype and put them at risk for damage.  So we had to look at some other options.

The two main options were to find the original tooling and run a small batch of each toy/model or use some of the latest technology available to engineers such as 3D Scanning and 3D Printing.

We were able to find a handful of the original tooling, but it is quite costly to setup and run the tools for just a handful of objects.  Plus many of the tools were already destroyed or missing.  Since we have a couple team members that are familiar with the 3D tools required, we started down the path of reproducing these toys via 3D scanning and 3D Printing for our prototypes.

In an earlier post, A Tale of Snakes and Flippers, we talked about the snake mechanism that was removed from the original prototype.  We do have a couple of the original snakes used in the mechanism, but of course we’d need more than a couple to finish our whitewoods and the 12 Sample games, so it was time to hit the copy button and generate a few more of these things.

3D Scanning

Snake in Scanner

Snake in Scanner

Snake in Scanner Closeup

Snake in Scanner Closeup

The first step to being able to reproduce the snake was to get it into a digital 3D object.  Of course we could have someone take a bunch of measurements and try and recreate it by hand in Solidworks, but that would be pretty time consuming and wouldn’t yield an exact copy.

Luckily one of our team members has a high resolution 3D scanner.  The scanner can build an accurate 3D model using lasers, which can then be edited and output in various other formats.

Snake in Software 1

Snake in Software 1

Snake in Software 2

Snake in Software 2

The original snake is put into the Roland scanner which rotates the model around while it bounces lasers off of it to create the model.  The model is then cleaned up via modeling software if needed.

The model is then output into an STL file that our 3D printer software can slice and covert into a printable file on our Makerbot Replicator 2.

3D Printing

Watch Timelapse Video

Watch Timelapse Video

Our 3D printer lays down molten plastic layer by layer until the entire object is finished printing.  It can print in various different layer thicknesses, and of course the thinner each layer, the longer the object takes to print.

Original with Copy

Original with Copy

The Circus Snake took 1 hour 40 mins to print in standard resolution of 200 microns and 10% infill.  So the snake isn’t a solid piece of plastic, as it makes a honeycomb pattern to make the part strong but save on plastic and printing time.

The result is a nearly identical copy of the original snake.

Summary

3D Scanning and Printing helps us speed up prototyping by allowing us to iterate much faster and not have to make molding tools for small runs.  At this point, we can now make as many snake plastics as we need during our development making any minor changes we may need along the way.

Filed Under: Show and Tell

Behind the Circus: Engineering Drawings

July 21, 2014 By Circus Maximus 1 Comment

Lets continue with another in our “Behind the Circus” series: Engineering Drawings

Most people that have seen or played Pinball Circus remember the crazy amount of wireforms and playfields that the machine has.

Every one of those wireforms, ramps, playfields, and custom mechs have an associated engineering diagram.

While we had many of the original drawings, most either needed to be digitized for CNC use or sometimes recreated.  Luckily we have a great engineer on our team that made this much less painful than it could have been.

We had nearly all of the original ramp and wireform engineering drawings, but even those were a slight challenge as there were sometimes many revisions to the drawings so we had to make sure that we used the final version.

Ramp to Ball Cup

Ramp to Ball Cup

Wireform from Rear

Wireform from Rear

Some drawings, such as the playfields themselves, had to be digitized and slightly modified based on the changes/enhancements that Python requested.  All of the playfields were first done in Solidworks, and then we created a separate file based on those solidworks files to be used for the CNC paths.  Can you spot any of the new changes on the main playfield?

Main Playfield - Solidworks

Main Playfield – Solidworks

Main Playfield - Draftsight

Main Playfield – Draftsight

Main Playfield - Whitewood

Main Playfield – Whitewood

The set of engineering documents that needed the most manual intervention were the ball guides.  But again, our solidworks expert made quick work of them. From these drawings the ball guides could then be laser cut and bent into their appropriate shapes.

Main Playfield Ball Guide 01

Main Playfield Ball Guide 01

Hopefully everyone is enjoying these behind the scenes posts.  I think the next post we will change it up slightly and talk about some of the interesting trips we took while working on this project with Python.

Until next time.


Filed Under: Show and Tell

A tale of snakes and flippers

June 30, 2014 By Circus Maximus 4 Comments

Some people following the project have noticed that on a prototype drawing there was a “foot pedal” at the bottom of the cabinet.  Similar to how a gas pedal on old arcade games such as Outrun had.

This pedal was intended to trigger a mechanism that was taken out of the prototype games such as the one at the Pinball Hall of Fame currently.

flipper01

First, lets examine a photo of the flippers on the existing prototype.

One of the things most people remember about the game if they have played it is that the two main flippers are not on the same horizontal position.  Meaning the left flipper is lower down the playfield than the right flipper.  What most people don’t know is that is NOT how the game was originally designed.

One of Python’s trademarks was always to incorporate the flippers into the playfield artwork.  For instance on Bad Cats, the flippers are the tails of the cats.  On Fish Tales, the flippers are the jaws of the fish.  On Pinball Circus the flippers are the tusk of the elephant, the fingers of the clown.  Look closely at the photo of the main flippers again.  One flipper is part of the seal, the other flipper isn’t.  If you look even close you’ll see that there is a hole where the flipper was originally part of the seal.

Why was the flipper moved?  Well, originally there was supposed to be an additional mechanism between the flippers.  A snake head that would extend and bounce the ball back into play.

snakesmOriginally the flippers were much father apart, and this mech was between them.  The foot pedal that people have noticed in the prototype drawing would have been used to extend the snake during gameplay.  You can see a little sticker on the playfield just below the sun graphic.  That sticker is covering up a plugged hole where the mech originally resided.

So of course people are going to ask if the new games will include a foot pedal?

Well, it will include the snake mech, but most likely the foot pedal will not be the way you will trigger it.  The reason? There is another new feature that is not in the original games that would make the foot pedal unlikely to be the preferred method of triggering the snake.

And besides, Python always wanted it to be a Pelvic button that you had to “bump” to extend the snake, but that is another story altogether.

Filed Under: Show and Tell

Behind the Circus: Ramps

June 26, 2014 By Circus Maximus Leave a Comment

Many people have asked how long this project has been in the works.  Well, it’s been going in one form or another for quite some time.

There are several challenges with Circus, and one of those challenges are the ramps.  The good news is that the ramps have been in progress long before most people ever heard of the Circus project.

Below are a couple photos of some of the thermoforming completed a while ago.  These are how they look prior to any CNC and finishing.

ramps1 ramps2

Want to be the first to learn about things like this?  Join our mailing list as we alway send these out first to that list before they get posted on our website.

Filed Under: Show and Tell

Circus at Southern Fried Gameroom Expo

June 24, 2014 By Circus Maximus 1 Comment

We recently showed off some whitewood playfields and talked about the project at the Southern Fried Gameroom Expo.

Python’s Pinball Circus populated mini playfield prototype, signed by Python. #CircusMaximusGames #SFGE pic.twitter.com/4ziCDf8HJG

— Southern-Fried Gamer (@SFGameroomExpo) June 22, 2014

Circus Maximus Games announces 2 whitewoods,12 prototypes,and TBD production plans for Python Anghelo’s Pinball Circus. More details to come — Southern-Fried Gamer (@SFGameroomExpo) June 22, 2014

Filed Under: Show and Tell

Get Updates

Want to be the first to know the latest on the our projects? Join our updates list!

We hate spam as much as you do. We will never share this list with anyone.

Latest News

Updates from This Week in Pinball

April Fools announcement

Pinball Inc and Circus Maximus purchase building

Copyright 2014 The Circus Maximus Group, LLC · Log in